Add weather along the route
Select weather data at each waypoint of the defined route and assign the routes to logistic types to follow when departing from a base, or embarking on long-haul.
Use weather along the route to model cases with more accurate weather delays and downtime.
Weather along the route overview
To the existing route planner, two tabs are now available:

- Weather data
- Power exponent law
Allowing users to:
- Add/remove weather data to each waypoint
- Define the power law exponent
Add weather to custom route
- click the dropdown menu on the
Weather datatab
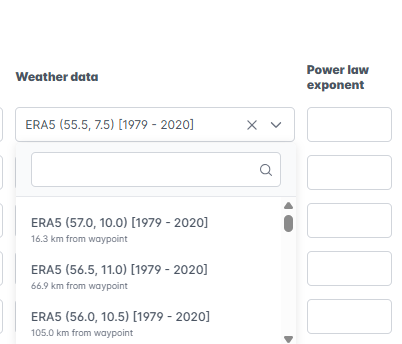
The dropdown will display all downloaded weather files from the input library, starting with the file closest to the selected waypoint.
Weather file relevance is determined from the waypoint it’s on to the next one, and takes into consideration the precise direction of travel if the user defines the waypoints and assigns the relevant vessel to it.
- Define
Power law exponentat each waypoint in your custom route.

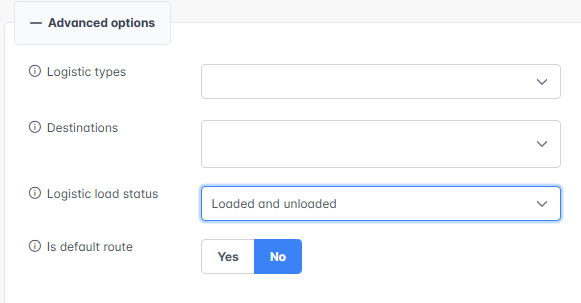
Use Advanced Options
After setting up all waypoints, these advanced options are available for case modeling:
-
Click
Advanced Options. -
Fill in the following:
Logistic types(e.g., HLV, CoTV, SOV)Destinations(add destination points or IDs)Logistic Load Status(e.g., loaded, unloaded, or loaded and unloaded)Default Route(toggle if this should be the default route)
-
Click
Confirm and Add
It is important to assign a vessel to the defined route if you do not want the travel path to default to a straight line between waypoints.
SOVs will navigate in a straight line from the last waypoint to their off-duty location.
All other logistics will navigate in a straight line to and from the route destination