Add and Edit Work Orders
The following topics are covered in this article:
Create a Work Order
- Click on + Add new work order
-
Fill in the necessary information. The same window will appear as described in the following text about how to edit a work order
-
Click Save
Edit Work Orders
There are two places that indicate where to find relevant information in a work order: the edit (General tab) view and the Activities view.
Edit-view has general information such as the name, necessary qualifications, and planned times. Activities-view has all the planned and completed activities.
- Click + Add new work order and add the necessary information
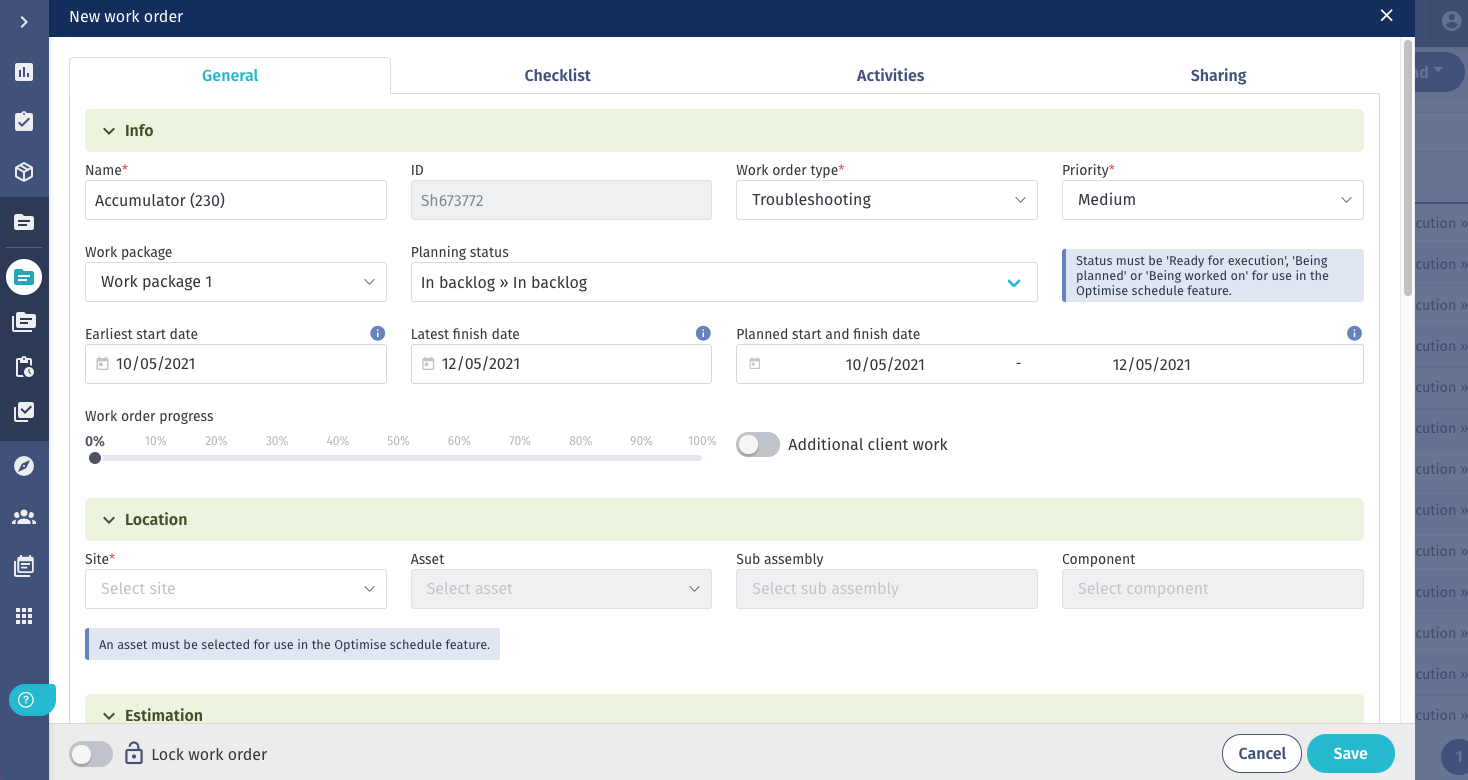
When adding a work order, an edit-window will be opened.
When planning data has already been filled in, the work order has the status of "Being planned". When the information is correct and complete, the work order can be dispatched. This means that the planning is finalized and the work order status will change to "Planned". It is possible to manually plan the work orders here; however, this is much easier in the planning mode. An overview of all the planned work orders is available in the planning menu.
Here it is necessary to fill in the following information:
Info
| Input Label | Mandatory | Description |
|---|---|---|
| Name | ✅ | The name is the title of a work order. |
| ID | ✅ | The ID is a unique value to identify the work order. |
| Work order type | ✅ | The work order type is the configured list of possible kinds of work orders. |
| Priority | ✅ | The priority is the configured list of possible precedence's. |
| Work package | ❌ | The work order package the work order should be assigned to |
| Planning status | ❌ | The planning status shows the work order status in the Execution tool and will be changed by the users, depending on its status. This list can be configured by Admins. |
| Planned start and finish date | ❌ | This is the actual planned start and finish date which should be in between the earliest start date and the latest finish date. |
| Actual start date | ❌ | The date that work began on the work order. Automatically updates to match the earliest start date of a completed activity. |
| Actual finish date | ❌ | The date that work finished on the work order. Automatically updates to match the latest finish date of a completed activity. |
| Earliest start date | ❌ | The earliest start date is the first possible date the planning of the work order can start. |
| Latest finish date | ❌ | The latest finish date is the due date of finishing the work order. |
| Work order progress percentage | ❌ | The work order progress is linked to the planning status and will be updated accordingly. |
| Additional client work | ❌ | Here you can toggle on/off additional client work. |
| VO number | ❌ | This is the number of the variation order which is a change in the scope of work. |
| VO agreed with | ❌ | This indicates with whom the variation order is agreed. |
| VO signed | ❌ | If the checkbox is ticked, the VO is signed |
Connections
| Input Label | Mandatory | Description |
|---|---|---|
| Site | ✅ | The site is the name of the wind farm/project, here all sites are visible and filled in the site-tab. |
| Asset | ❌ | The asset list contains all wind turbines and substations of the wind farms. |
| Subassembly | ❌ | The sub-assembly is a related part, here all subassemblies of the selected asset are available. |
| Component | ❌ | The component is the related part, here are all components of the selected asset or subassembly. |
Estimation
| Input Label | Mandatory | Description |
|---|---|---|
| Estimated manhours | ❌ | Total time in hours that the work order is expected to require. |
| Completed manhours | ❌ | Total time spent on all activities |
| Remaining manhours | ❌ | The remaining duration in hours for the work order. |
| Time registered | ❌ | The total time registered across all activities within this work order. |
Requirements
| Input Label | Mandatory | Description |
|---|---|---|
| Transport types allowed | ❌ | The allowed transport type defines which transportation can be used for doing the work order. |
| Required skills and skill groups | ❌ | The required skills define a number of single or grouped skills necessary for completing the work order. |
| Minimum number of personnel | ❌ | Here you can indicate the minimum number of personnel required. |
| Quantity | ❌ | Here, you specify the quantity of skills required. |
Tasks
| Input Label | Mandatory | Description |
|---|---|---|
| Activity category | ✅ | The type of activity the task falls under. |
| Subassembly | ❌ | Subassemblies of the asset you have selected in the Connections section are available here. |
| Estimated hours | ❌ | Estimated amount of time in hours required to complete the task. |
| ID | ❌ | Auto-generated unique identifier. |
| Description | ❌ | Optional additional remarks. |
Activity Categories
| Input Label | Mandatory | Description |
|---|---|---|
| Activity categories | ❌ | The types of activities that take place under this work order. |
Work Order Dependencies
| Input Label | Mandatory | Description |
|---|---|---|
| Previous work order | ❌ | Related work orders that need to be completed before this work order can start. |
| Next work orders | ❌ | Related work orders that follow this work order. |
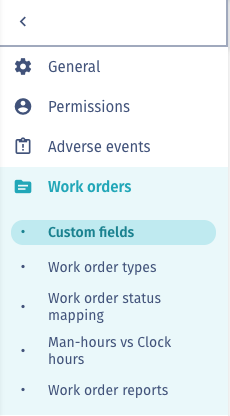
Custom Fields
The custom input fields are text-based only and can be added and edited in Account settings > Work Orders > Custom fields.
Comments
| Input Label | Mandatory | Description |
|---|---|---|
| Public comments | ❌ | Comments visible to everyone |
| Internal comments | ❌ | Comments visible only internally |
- Click Save

- Open a work order with the Edit button. Edit the work order information and click save when done.
Create a Recurring Work Order
Once you've added a work order, you have the option to create a recurrence of it in order to keep track of all tasks that need to be considered multiple times throughout the project.
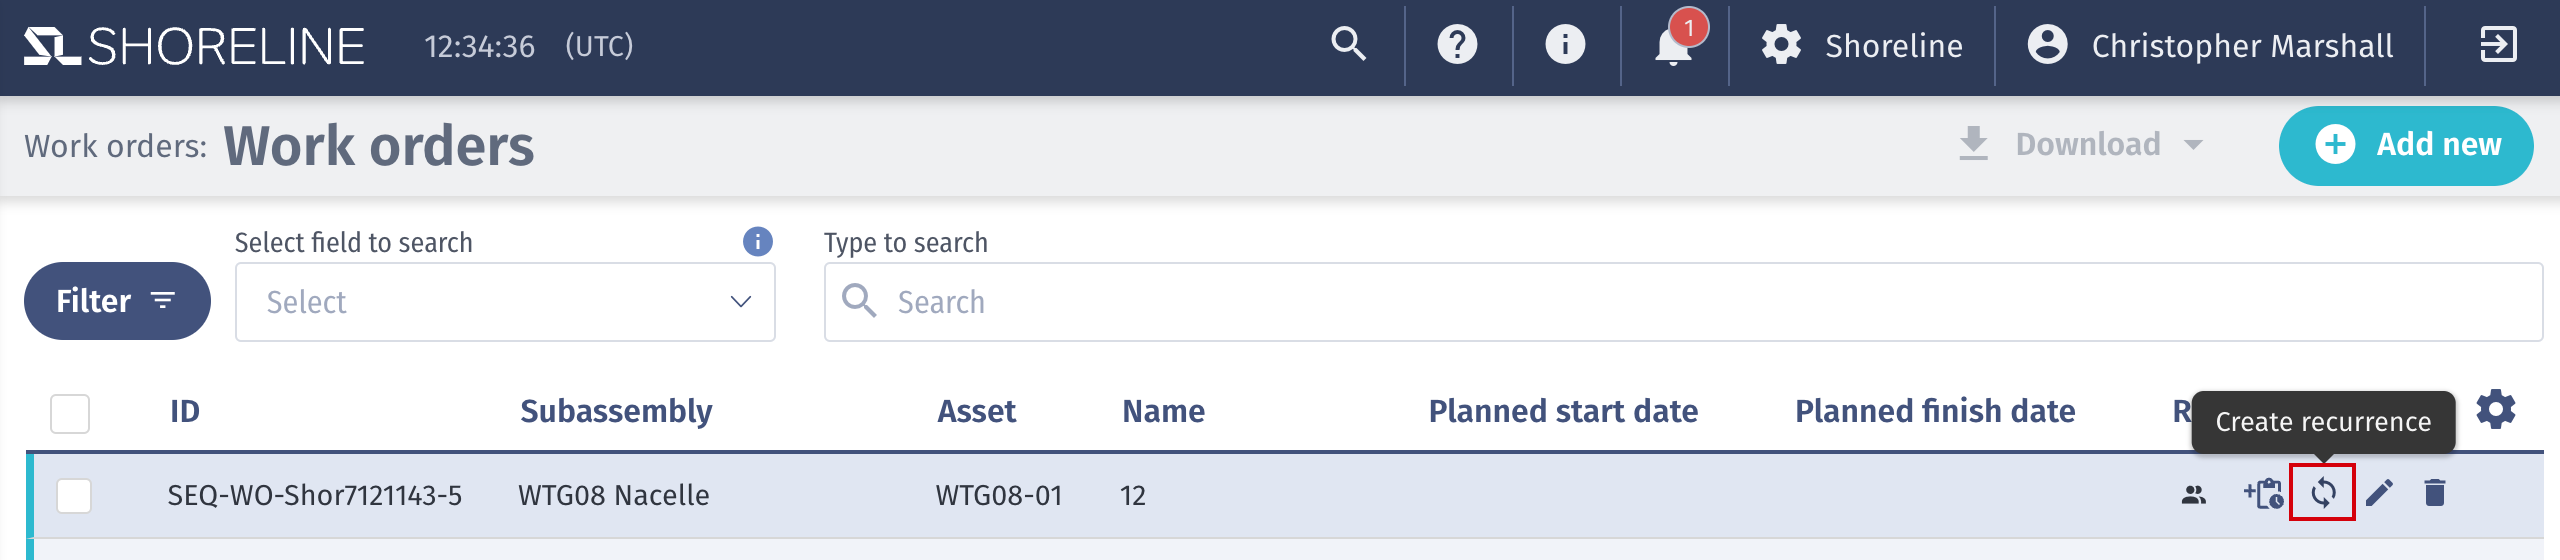
Click on the Create recurrence button and a new modal window will be opened to define the recurrence.
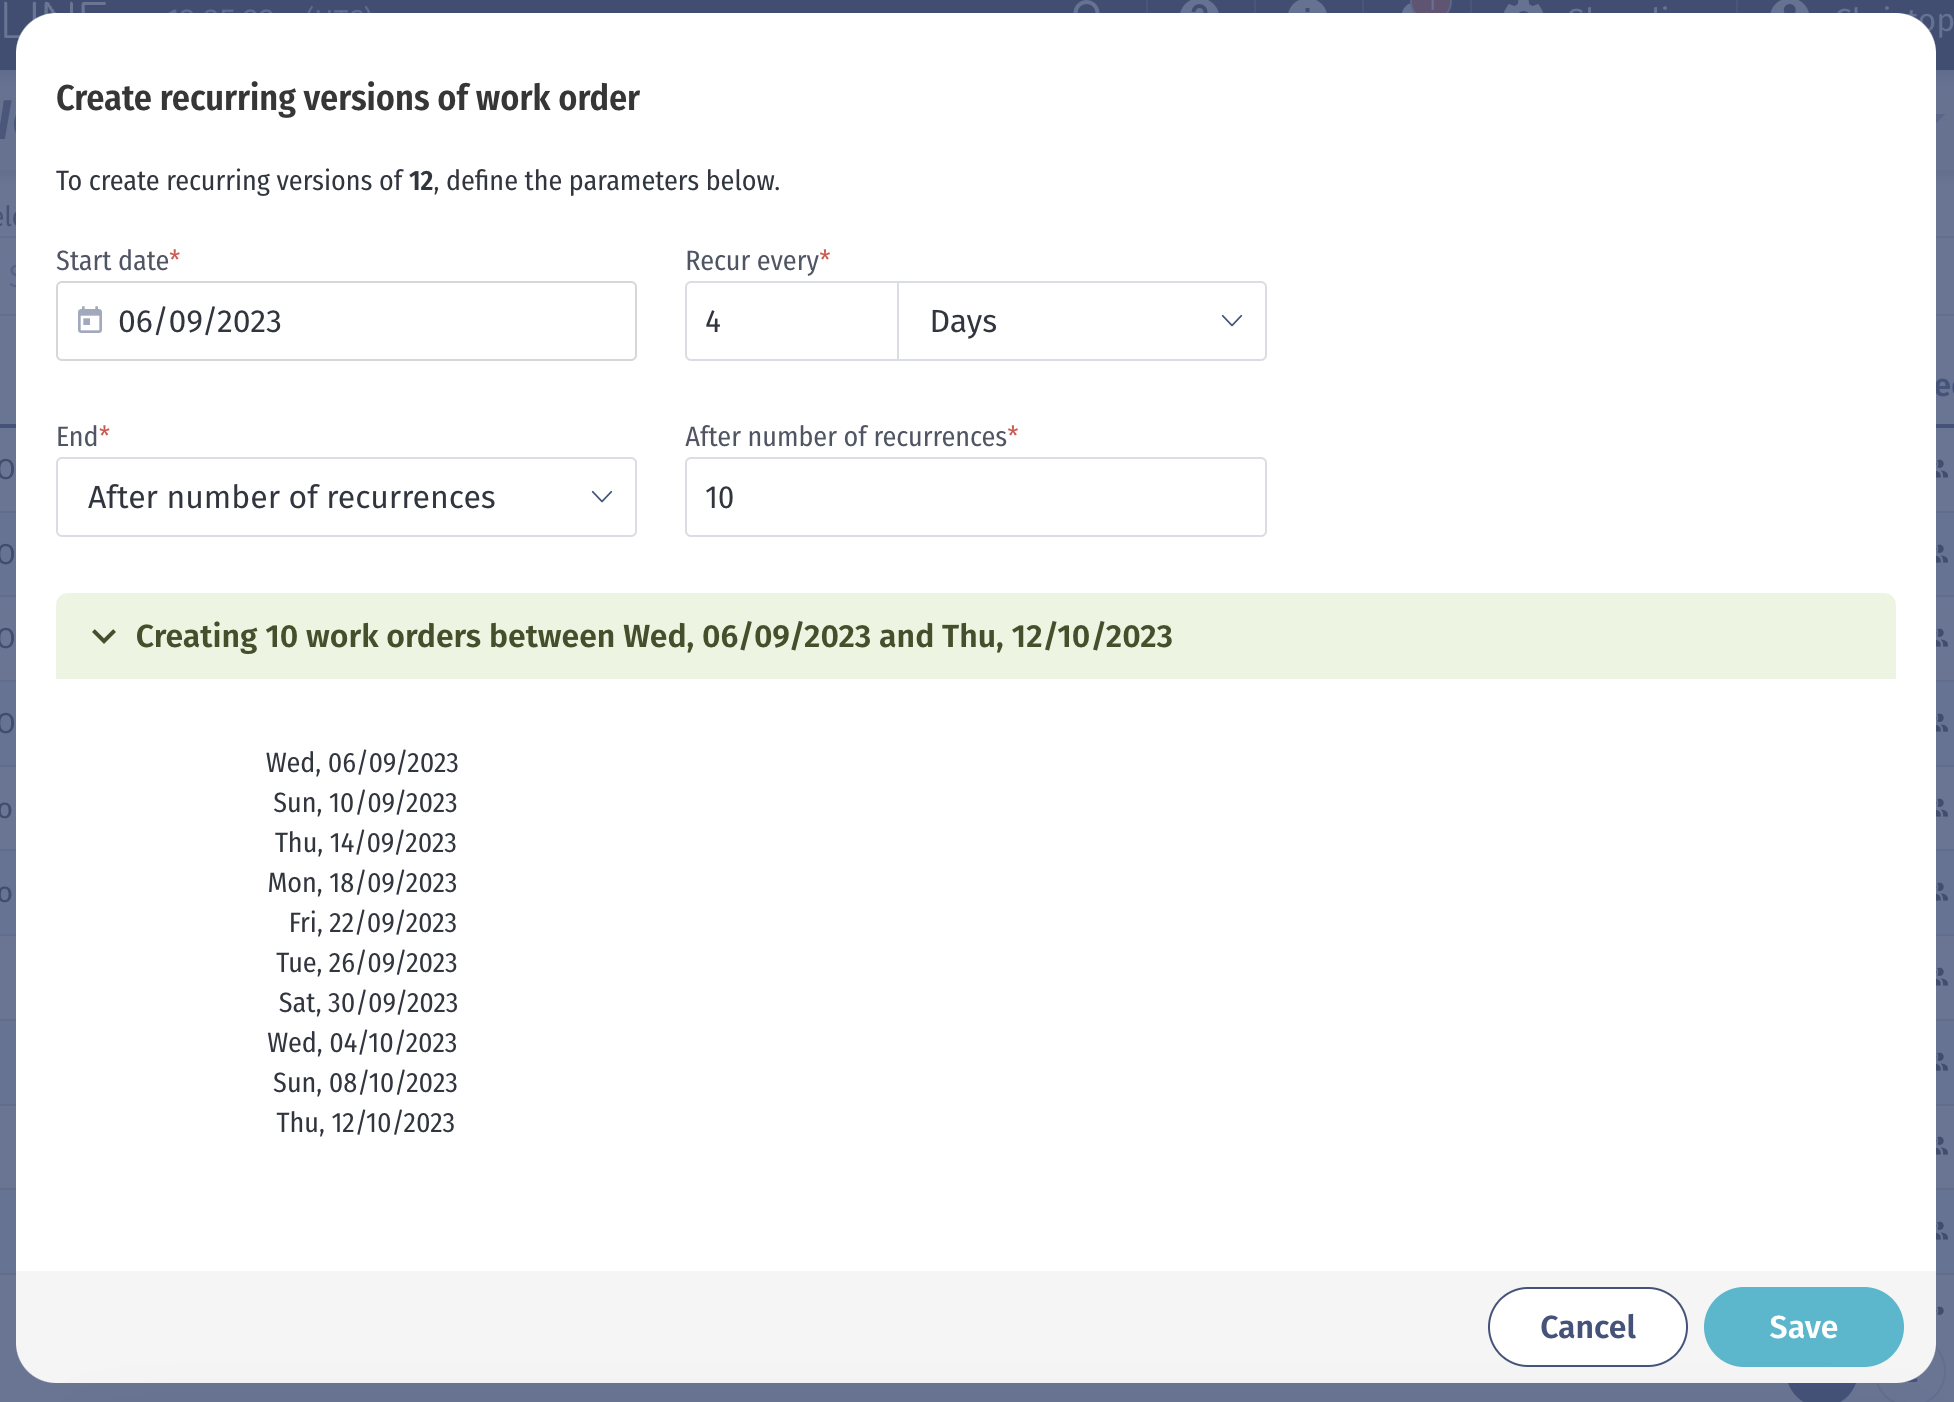
You have to set up the start date, a number of occurrences, and the end date, all of which are mandatory fields. At the bottom, you can see how many work orders will be created in the defined time period based on your selection.
- Start date: Define the date when the occurrence should initiate using the date picker
- Recur every: Here you set the frequency for recurring tasks. You can distinguish between days, weeks, months, and years. For example, 2 weeks represents that the work order will occur every second week
- Recur on: Depending upon your selection in the previous step, you can define specific weekdays or days in a month
- End: Here you define the end of the occurrences, where you can select either the exact date by picking the specific date or after a certain number of recurrences by indicating the value
Edit/Delete a Recurring Work Order
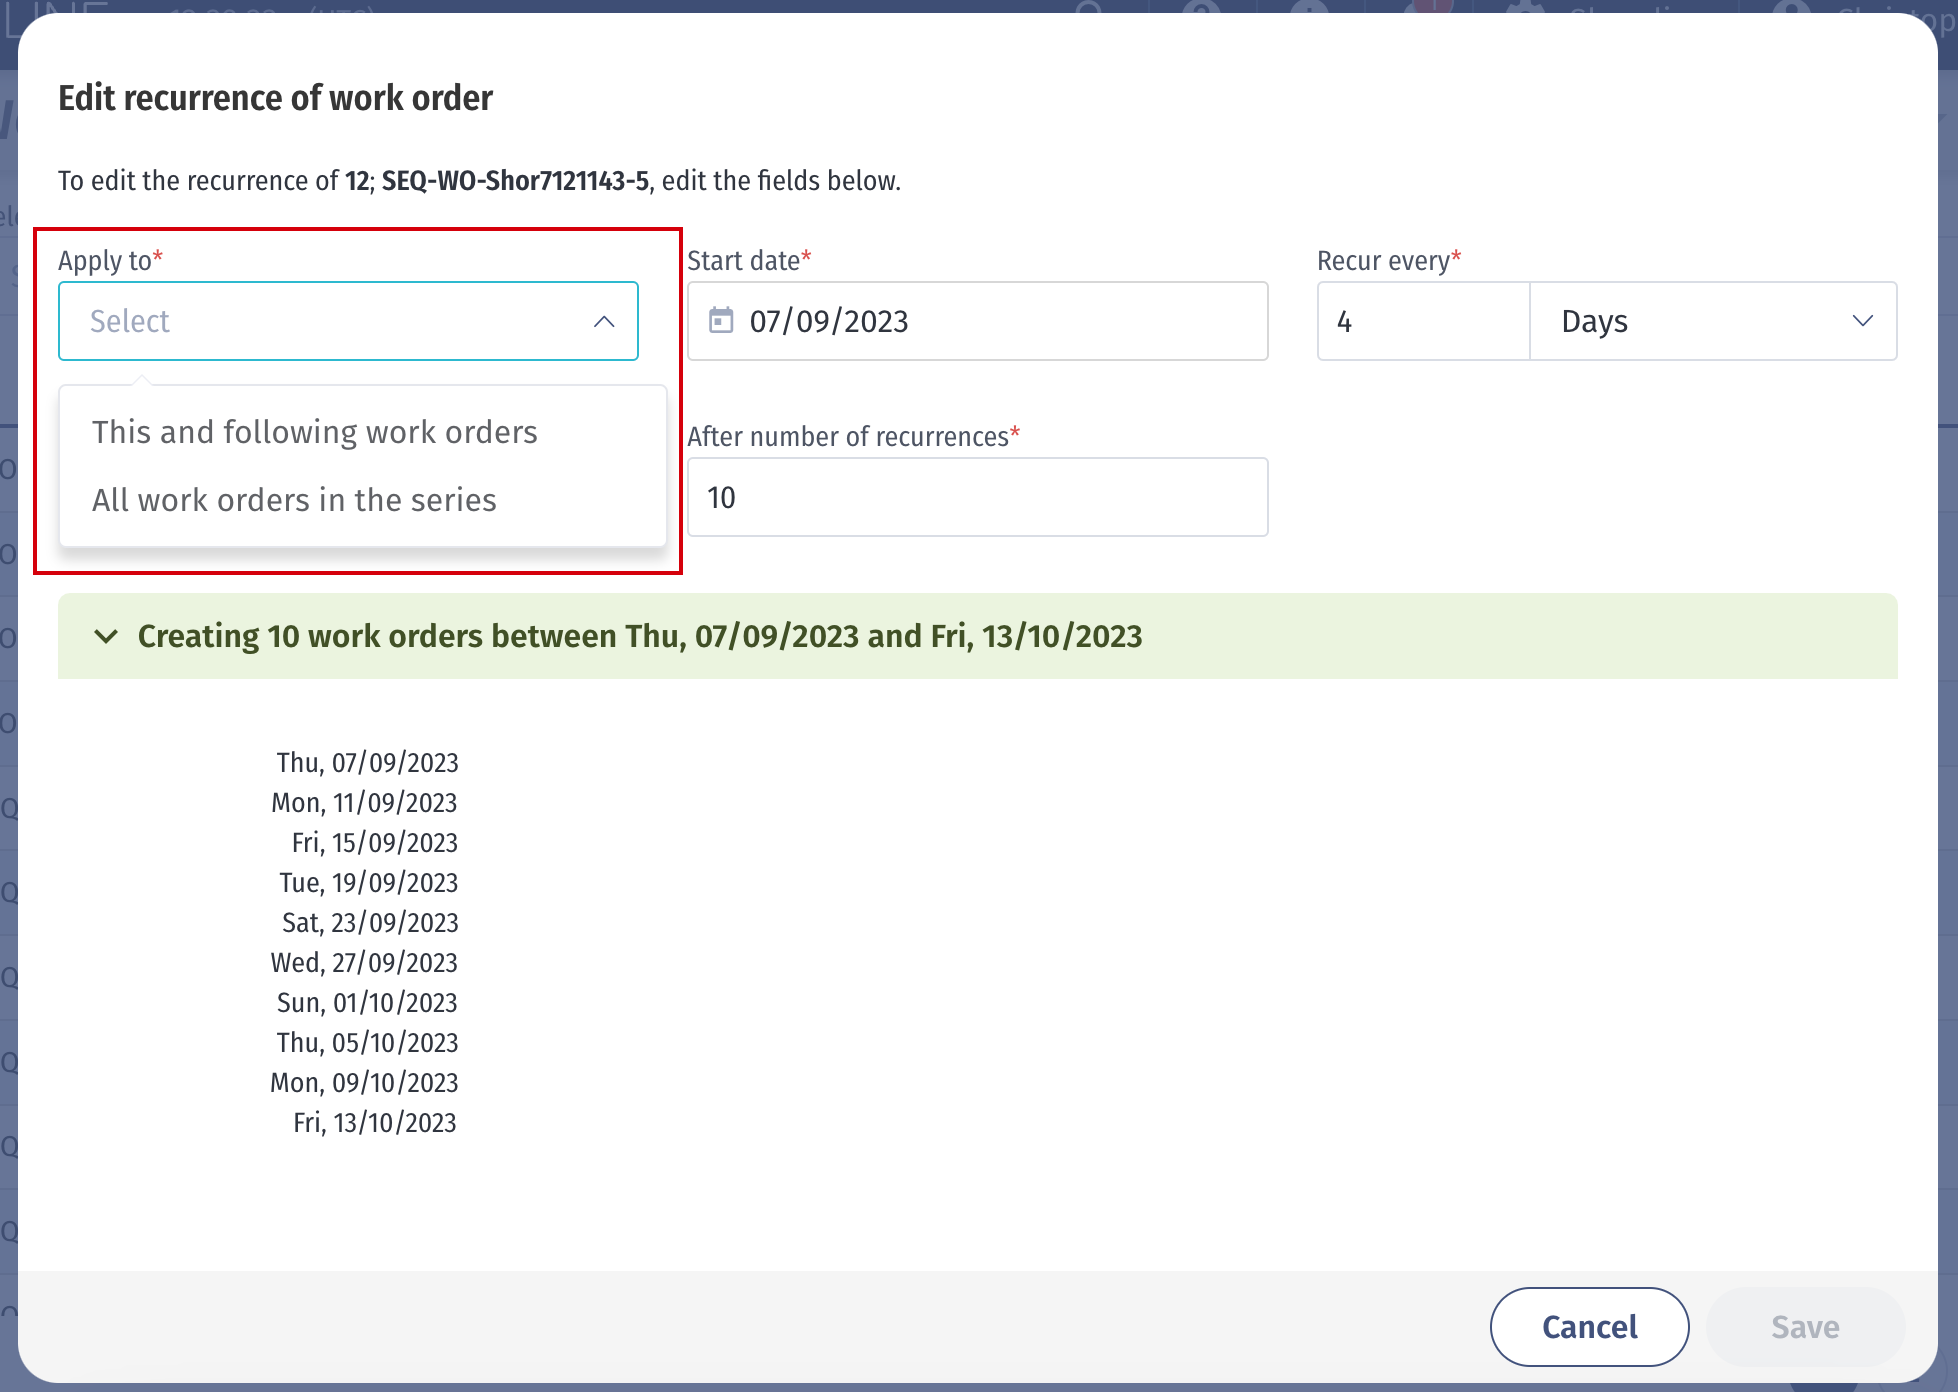
Once you've created recurring work orders, you are able to edit the recurrence by clicking on the recurrence button.

The modal window looks the same as when creating recurring work orders. You only have to define if you want to apply the changes to all work orders in the series or only to this and following work orders.
In case you want to delete the series of work orders, click on the bin button and select All work orders in the series.