Adding and Editing Components
After creating a site with an asset, you can add as many components as necessary. There are two ways to add components: directly on the asset itself or through the Components section.
For detailed information about the input labels, see Components Input Data.
Adding a Component
Adding a component through the Components section requires manually defining any department, asset, or subassembly the component belongs to. You can also add a component directly to an asset.
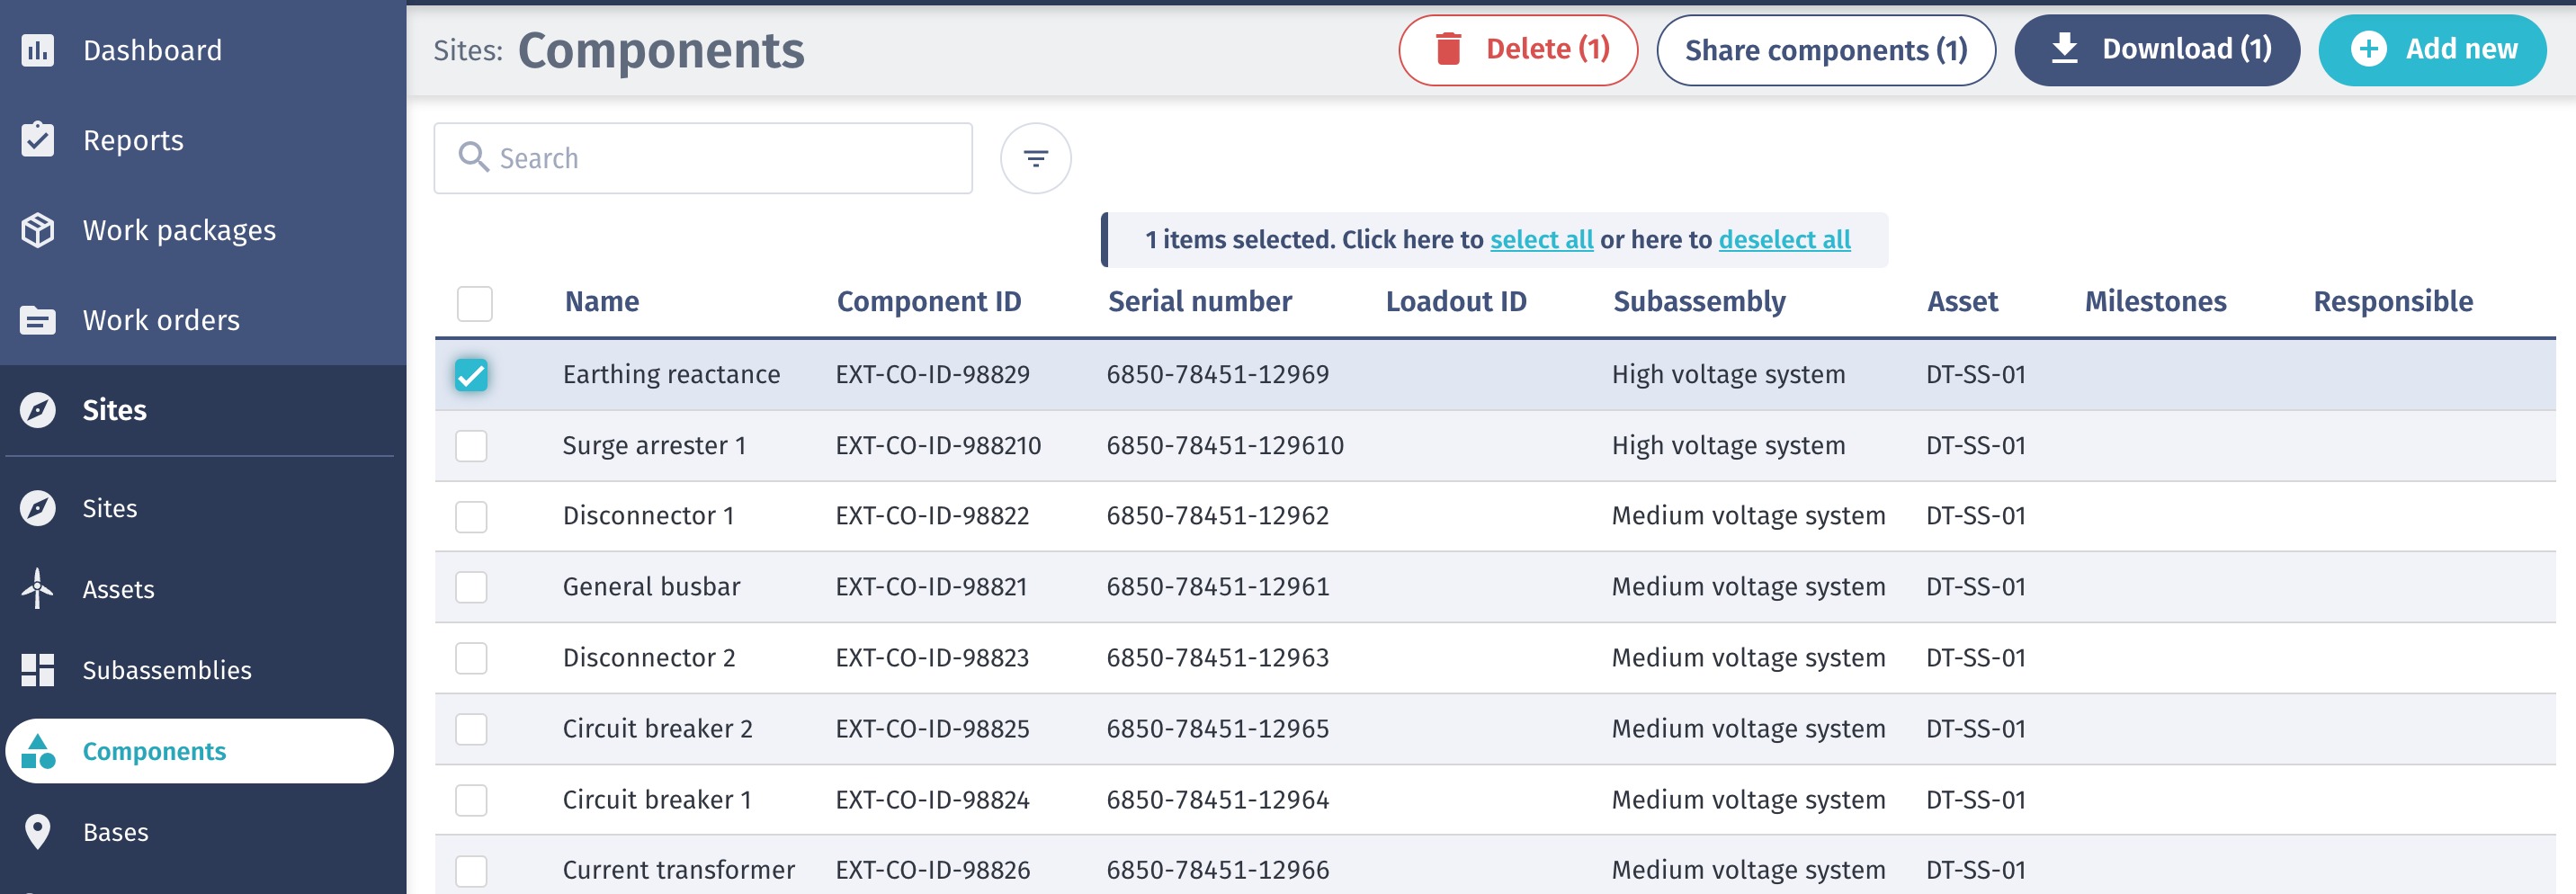
- Navigate to Sites > Components in the left-hand menu.
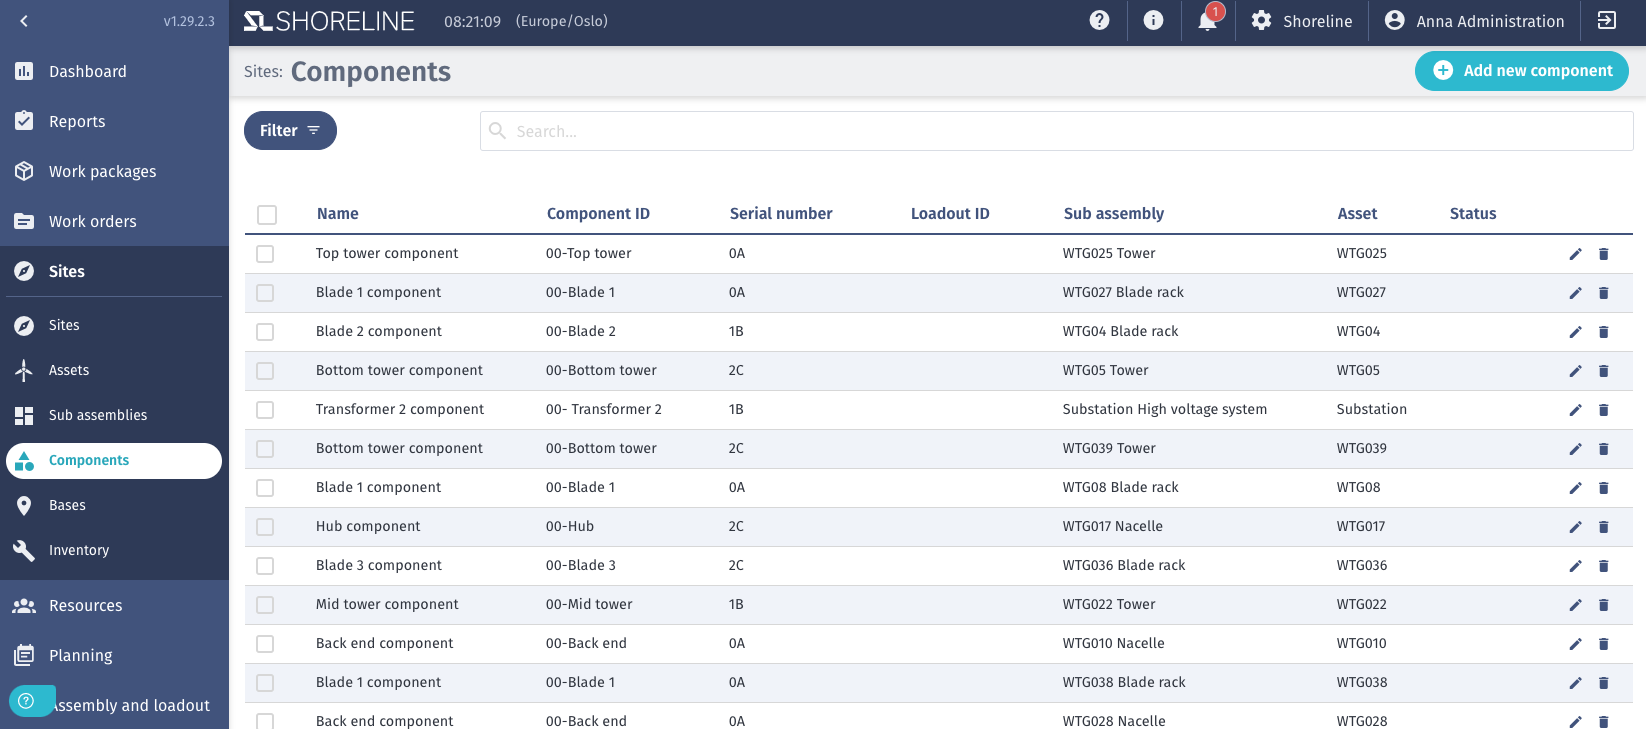
- Click Add new at the top right.
- Enter the required and any optional additional information.
- See the Components Input Data page for details.
- Click Save.
Adding a Component to an Asset
- Navigate to Sites > Assets in the left-hand menu.
- Click the pencil (edit) icon next to the relevant asset.
- Click the Components tab.
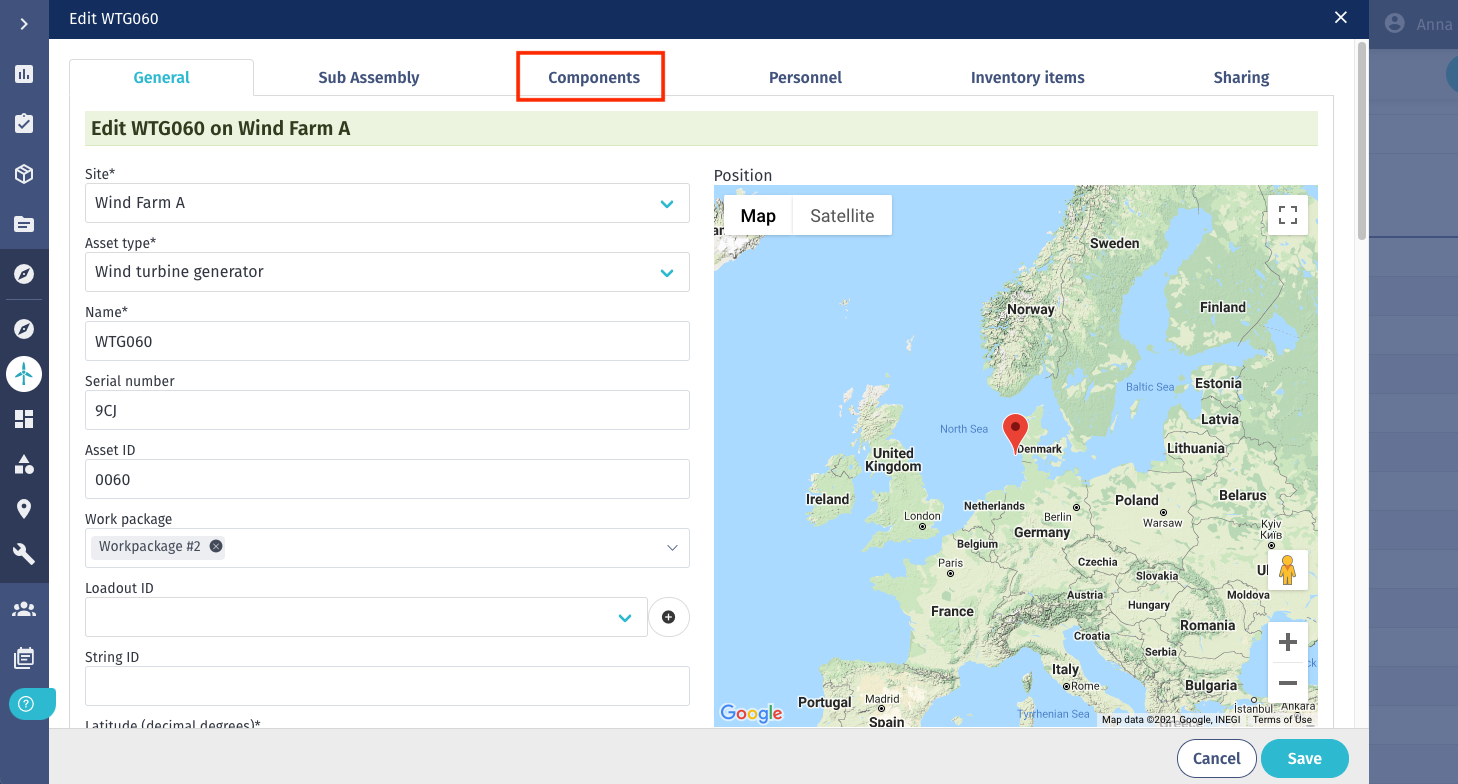
- Click Add new component.
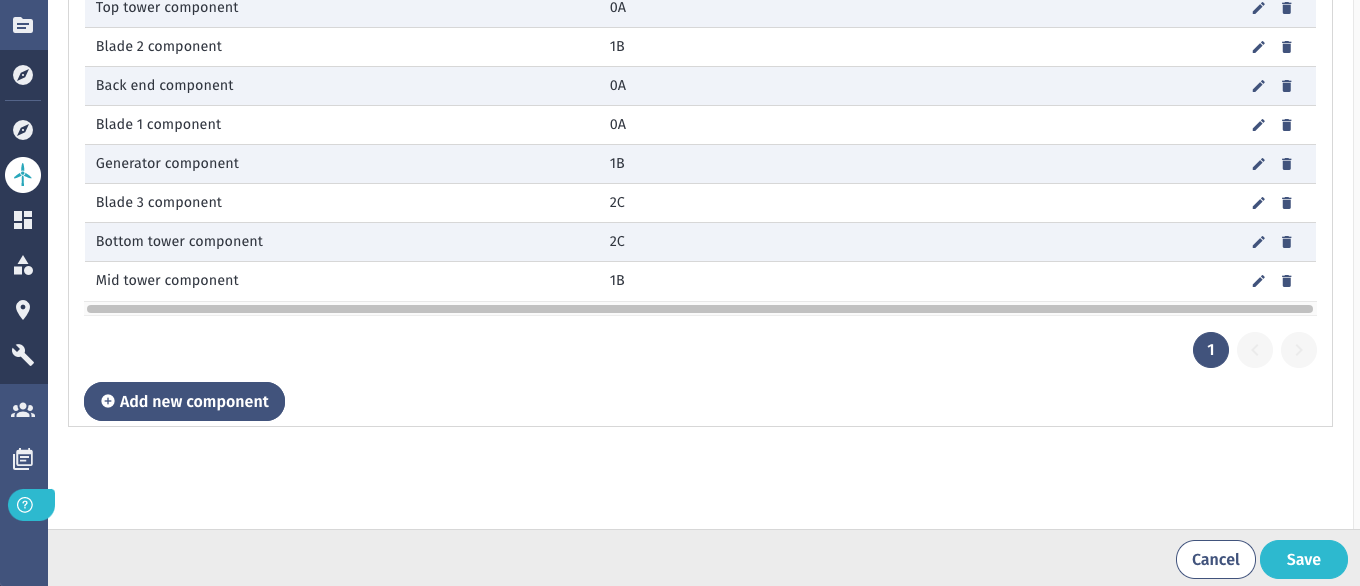
- Enter the required and any additional information about the component.
- See the Components Input Data page for details.
- Click Save.
Editing Components
- Under Sites > Components, click the pencil (edit) icon.

- Edit any necessary information.
- Click Save.
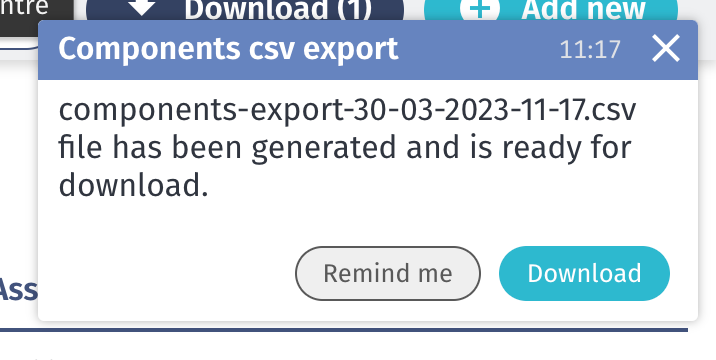
Exporting Components
You can export component information in CSV format.
-
Under Sites > Components, check the relevant components in the table.
-
Click Download at the top right of the page.
-
You will receive a notification when your file is ready to download.