Adding, Editing, and Exporting Subassemblies
Adding subassemblies is a simple process. Below is a step-by-step guide on how to add and edit your subassemblies.
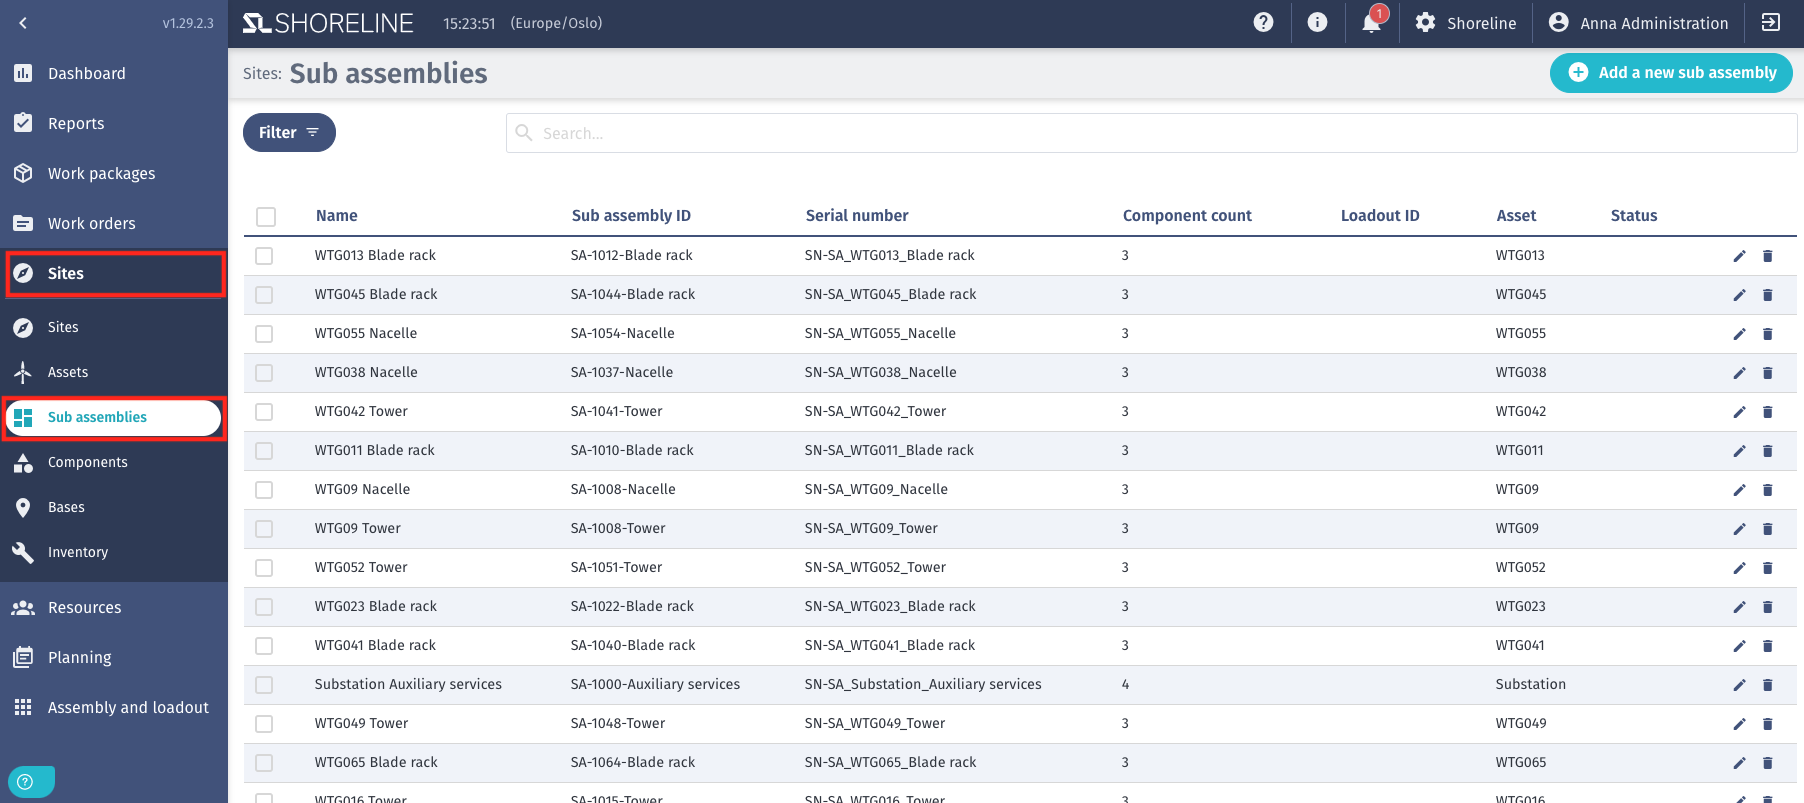
Adding Subassemblies
-
Navigate to the Subassemblies tab.
-
Click + Add a new subassembly and enter the necessary information.
Editing Subassemblies
-
Click Edit on the relevant subassembly.

-
Edit the subassembly details, including:
- Name
- Subassembly ID
- Serial Number
- Component Count
- Load-out ID
- Asset
- Status
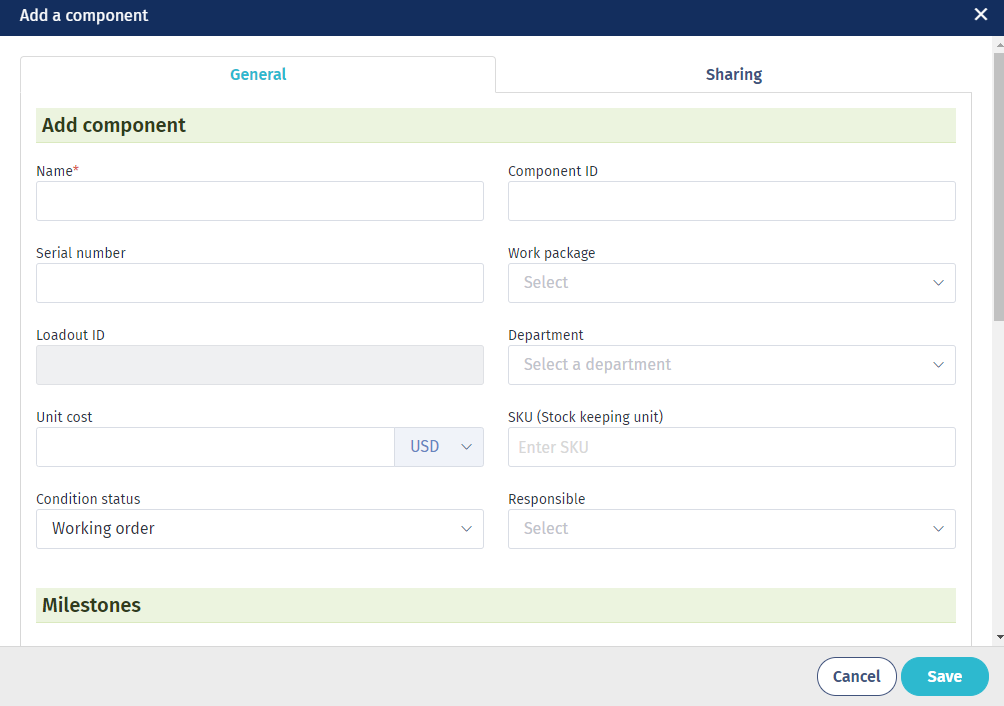
For information on adding and editing components, refer to this article.
For details about input labels, see Subassembly Input Data.
Exporting Subassemblies
-
Select the subassemblies you want to export.
-
Click the Download button at the top right.
The subassembly information will be exported in CSV format, which can be used for easier editing and re-importing.