Assembly and loadout planning
This article describes how to plan and track the loadout of assets, sub-assemblies, and components. This feature tracks which sub-assemblies and components go into which asset, and will help easily keep track of which loadout each part was part of when it was loaded out, and easily make sure serial numbers are mapped to the correct asset.
To utilise this feature, you need to have created sites, assets, sub-assemblies, and/or components in the Site tab. Go to this article for more information Sites, Assets, Components and Inventory items overview.
When you go to the Assembly and loadout tab, the screenshot below indicates that loadout pads have not been defined for this port. A loadout pad is where you add the components and sub-assemblies that will, in the end, become an asset and loaded out on an installation vessel

To define the loadout pads for the port follow these steps:
-
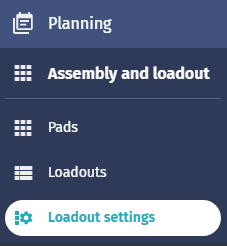
Go to the Assembly and loadout tab.
-
Click on the Loadout settings button.
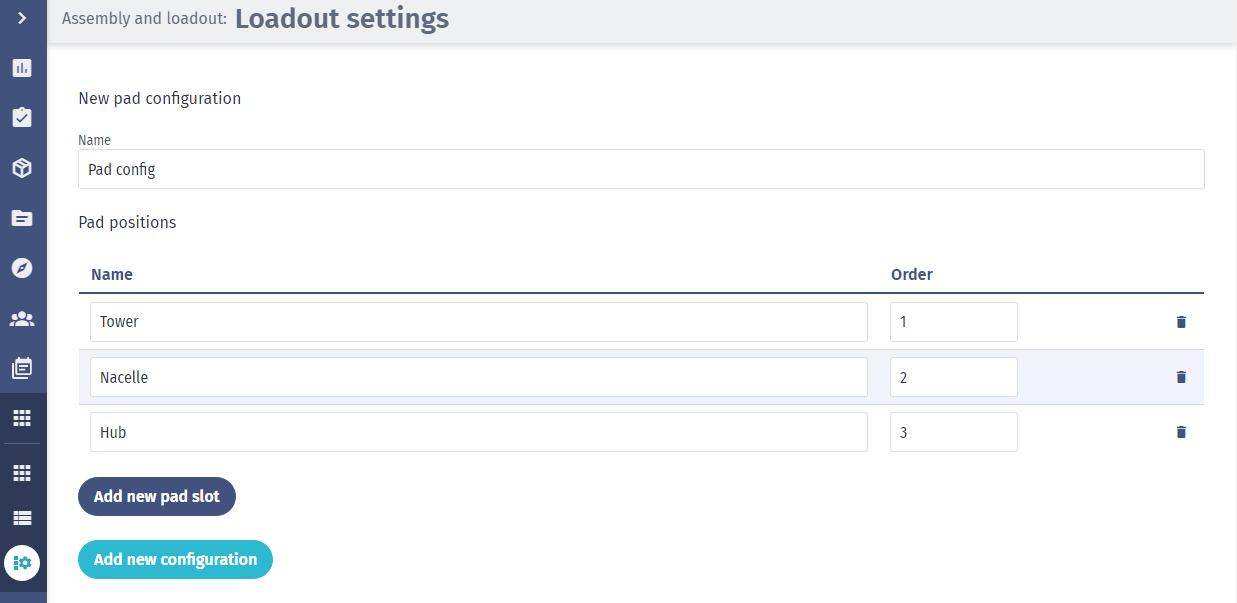
Here you can define different pad configurations to apply to pads. A pad configuration defines which sub-assemblies and components are part of a pad to have the flexibility to add or remove components that are part of a turbine.
-
Click on the Pad configurations tab.
-
Add the order of all necessary components and sub-assemblies needed on the specific pad configuration.
This will help you to customise the pad configurations where the name and pad positions of components/subassemblies of an asset will appear within a loadout process. Different pad configurations can be generated based on the different sets or combinations of components in the loadout process when creating the name of the pad configuration and pad positions.
-
Name the new pad configuration.
-
Create a pad configuration by clicking Add pad slot to add more components and sub-assemblies, and define their order, in the order you wish them to load out.

-
Click on Add configuration.
To save the pad configuration when it is set, click on the Add configuration button. Several pad configurations can be added as required.
-
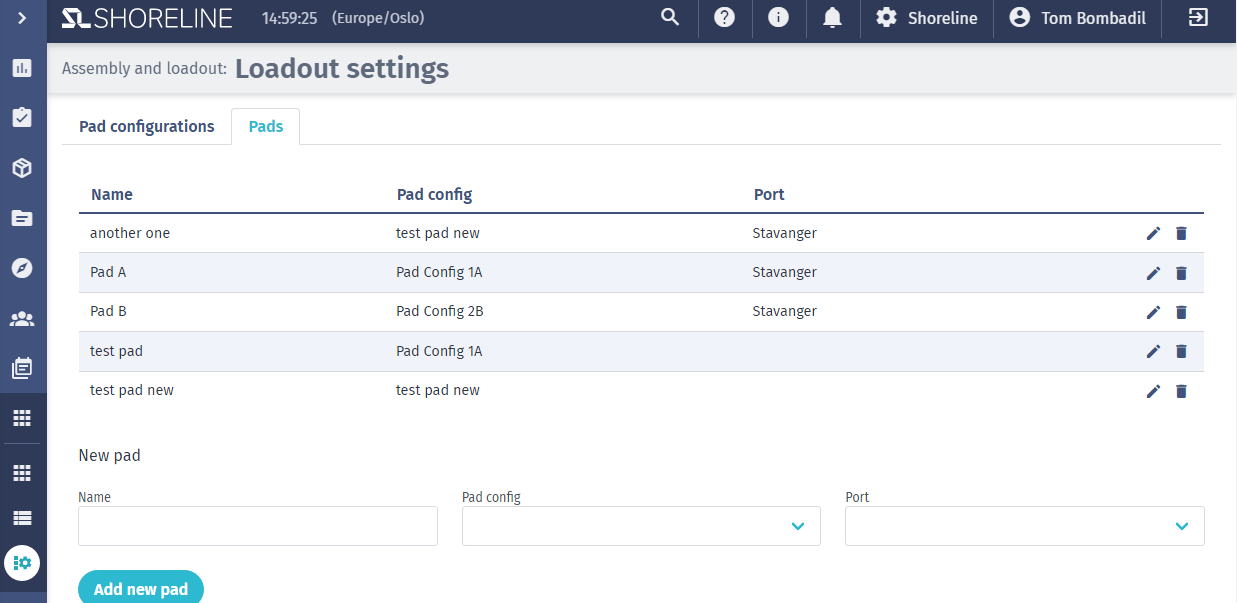
Click on Pads tab
Pads define how many pads there are in a port. To define a pad, set the name, the port where the loadout process will happen, and pad configuration type (can be changed later). Click Add pad to save it and it will appear in the Assembly and loadout menu when selecting the port (next step).
-
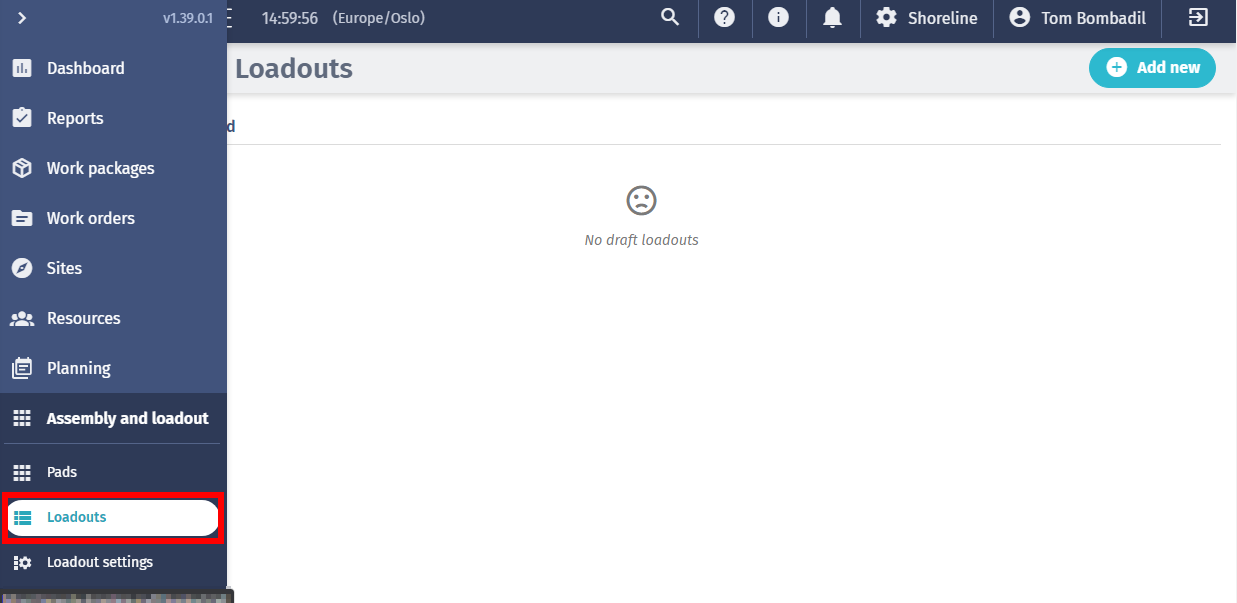
Click on the Loadouts button to create a Loadout draft to assign your loadout pad to.
-
Click Add new and name it (default name will be
New loadout), to edit the name, click the Edit (pencil) icon.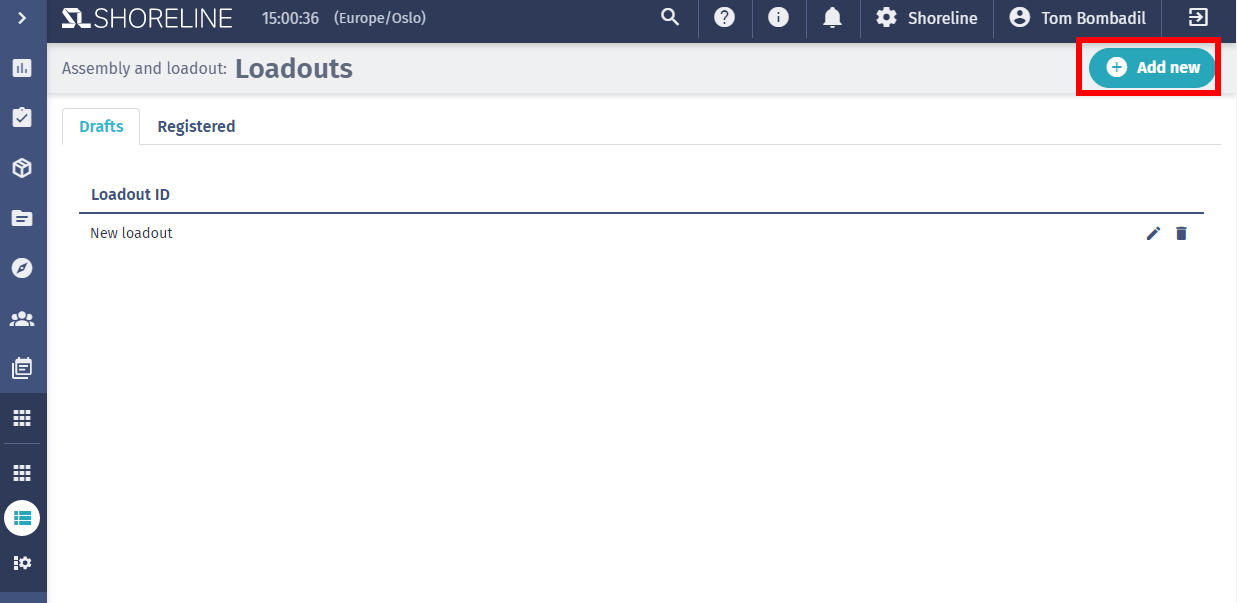
-
Now set up the pads. Click the Pads button.

-
Select the Port where the pad was defined previously.
-
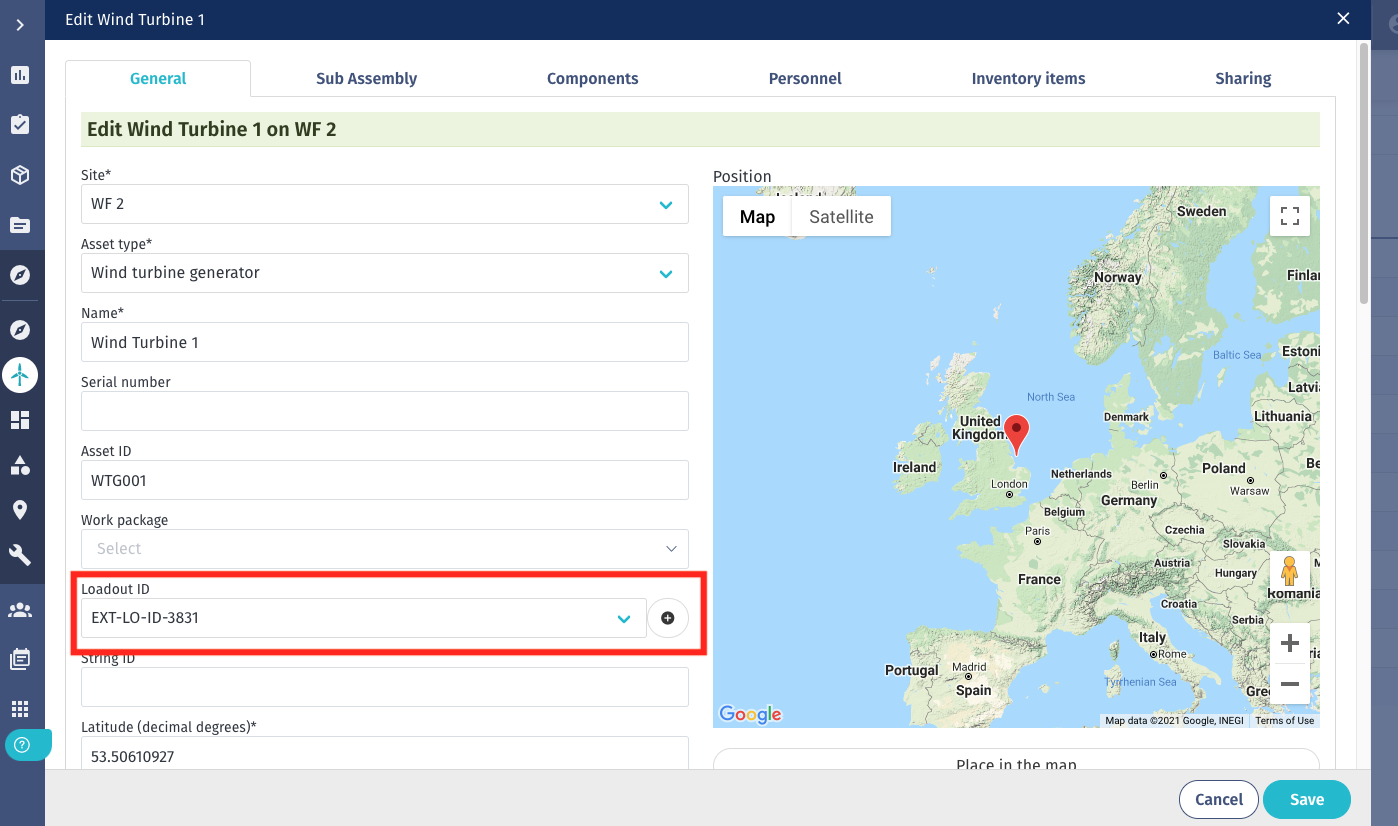
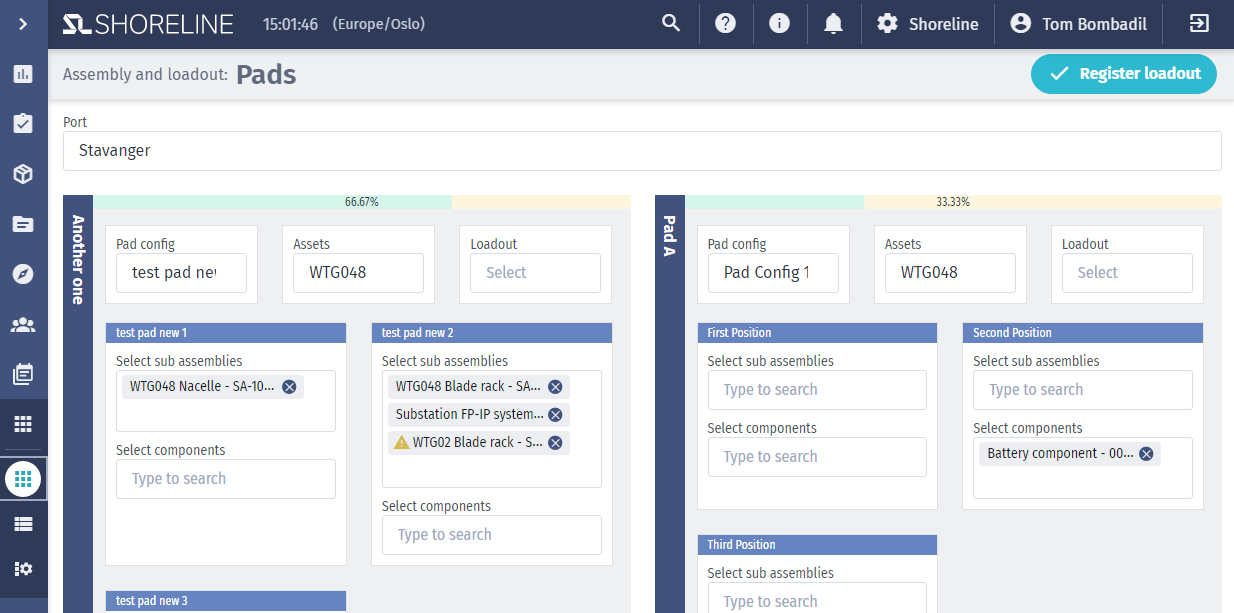
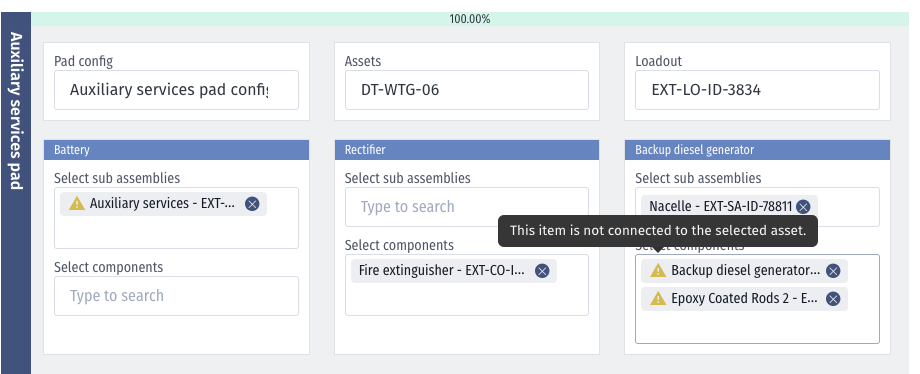
To loadout components/sub-assemblies to the pad positions, select the component/sub-assembly on a specific position by clicking in the blank space and search for the correct sub-assembly/component, select applicable asset ID and loadout draft

In case you add any components/sub-assemblies which are not connected to the asset, a warning will appear. To change this warning, see this article for components, and this article for sub-assemblies.
-
When all pads are filled and the progress indicator on the top of each pad is green 100% (you can register loadouts that are not 100% complete), click the Register loadout button at the top right of the screen to register the loadout.
-
Select a required loadout, select the required pad, Asset ID (if required), String ID (if required), and click Save.
(By assigning the loadout to an asset you can turn each pad into an asset, and all components and subassemblies will be registered on the asset)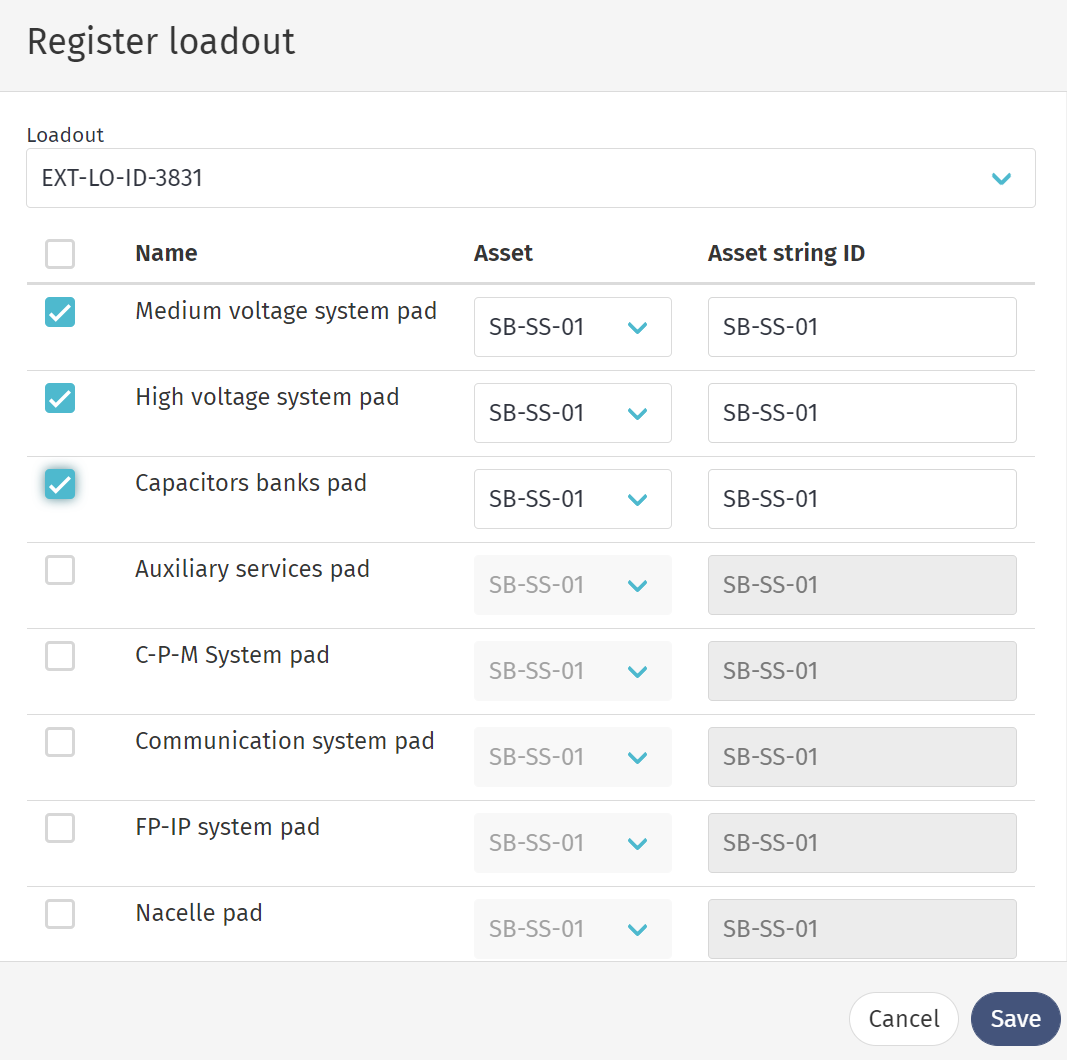
-
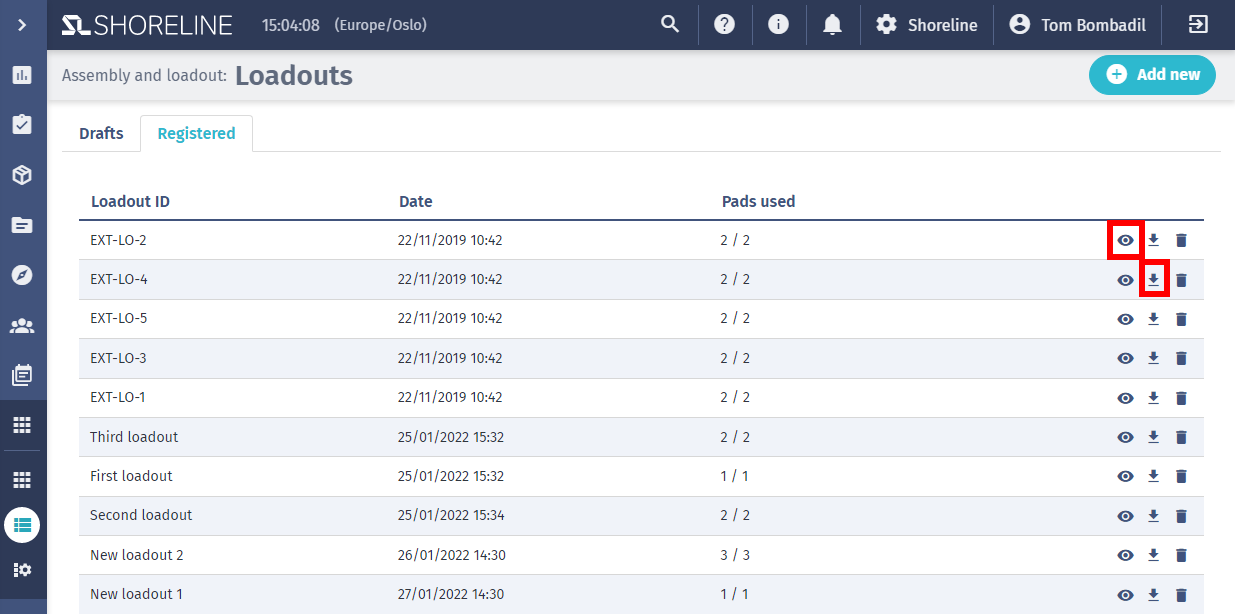
Then click the Loadouts button, and to go to Registered loadouts.
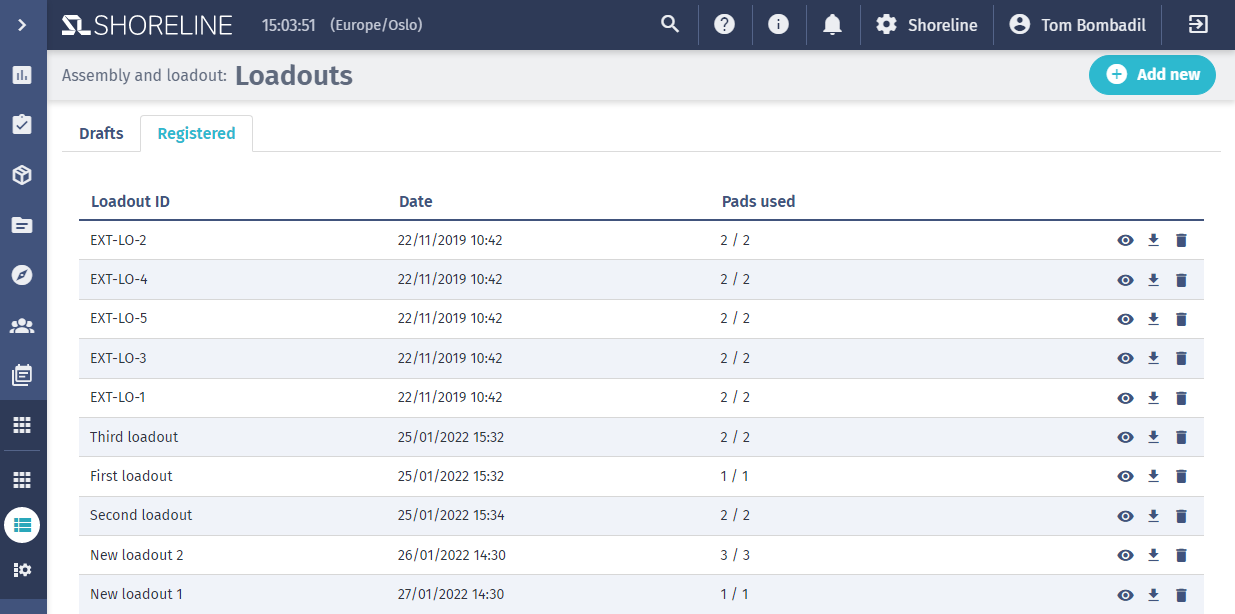
Click on the View (eye) icon to view a registered loadout.
Click on the Download icon to download the loadout as a PDF version of the same view as in the browser.
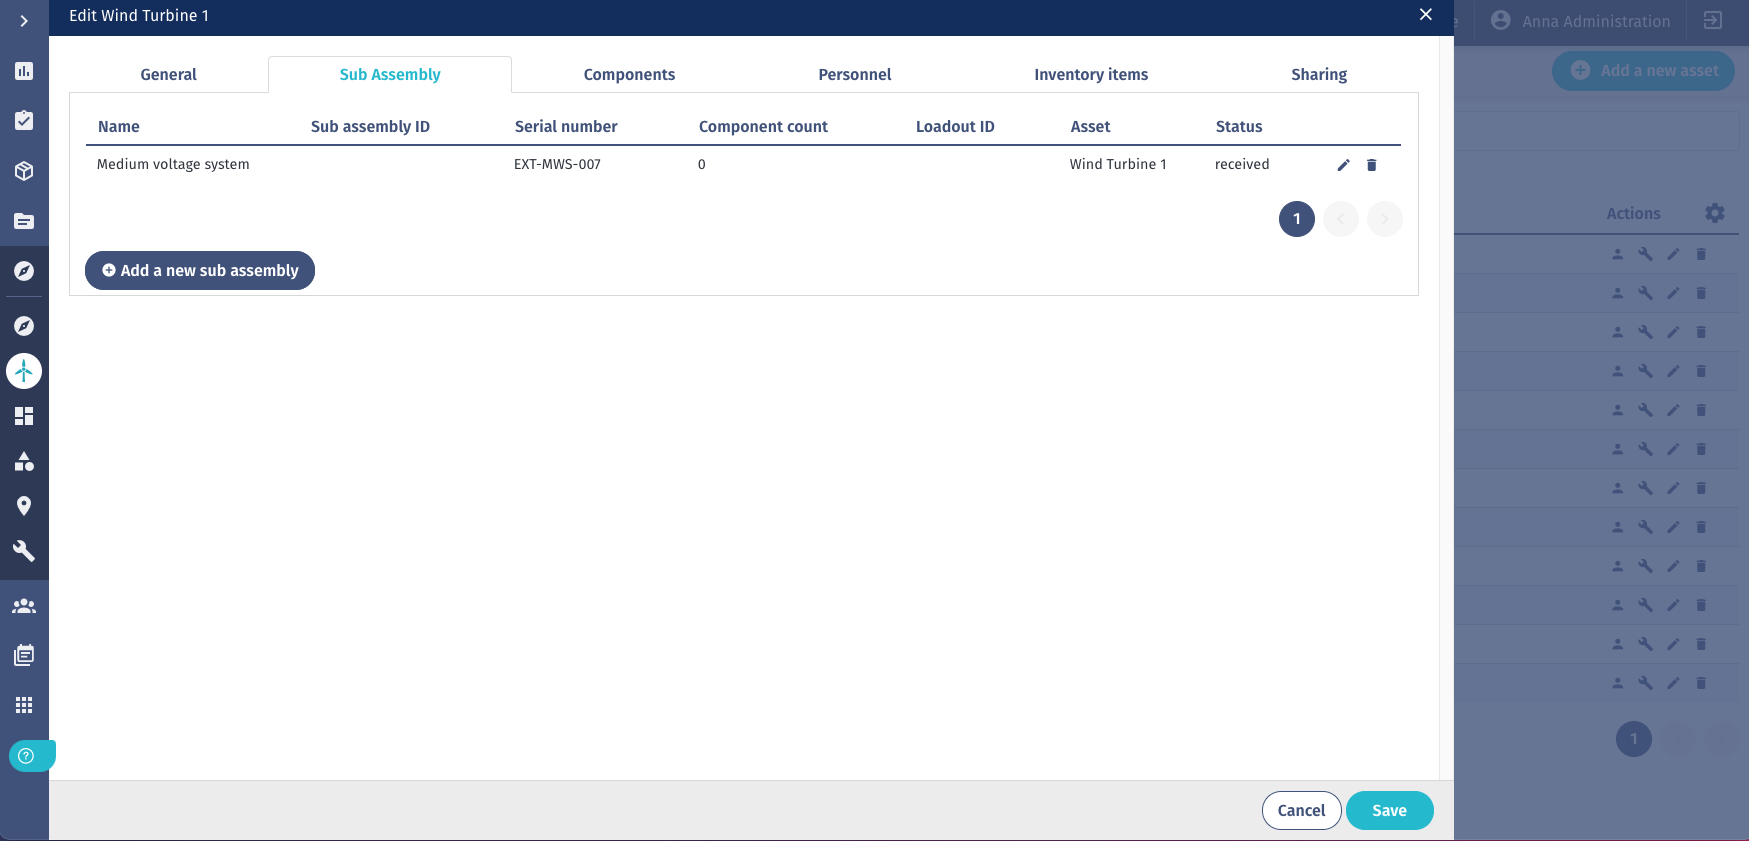
Loadout Process ID and String ID will be updated automatically for the asset related to the loadout process and the components/subassemblies that are part of the pads.
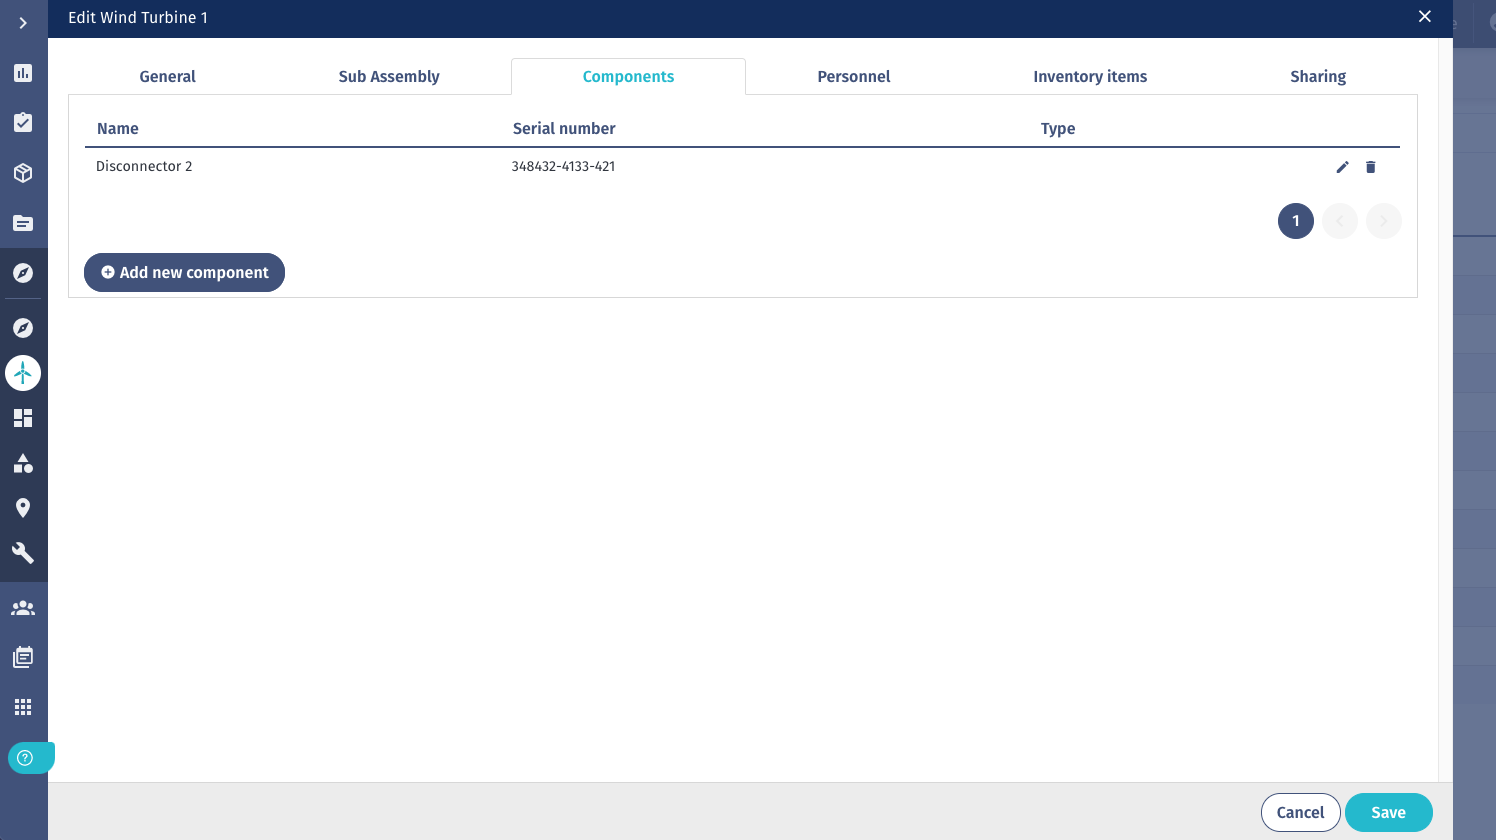
Components and assemblies that were not related to the asset before will show in the asset assigned for the loadout process.